
Thanksgiving 2020 was of course a not so normal holiday, as I am sure many people would agree. I typically have upwards of 14 people around my Thanksgiving table, and this year, just my dad came over. Once I got past the initial depression of not being able to have my entire family over for one of my favorite holidays, I immediately thought of ways to make the holiday fun and decided to lean into the idea of it being different than all other years.
Since I wouldn’t be spending my time serving 14 people and running around like a lunatic cooking and cleaning, I decided to make the day more fun for my 4 year old daughter, Mayzie. I insisted we get dressed up (as opposed to our typical quarantine look of sweatpants or pajamas) which my daughter loved because she’s the kind of kid that thinks everyday should be punctuated with a tutu.
I had Mayzie help me by setting the table together using a really fun Thanksgiving coloring tablecloth (which she loved), we did a Thanksgiving themed Scavenger Hunt, and I had her help me with some cooking prep…. But the real excitement was making Thanksgiving themed sugar cookies that she could then decorate with my dad while I did the remainder of the savory cooking. I made the cookies the night before so that the next day, on Thanksgiving, my daughter could decorate them with icing and sprinkles and the like.
They were a huge hit (even my dad got really into decorating them) and they were so fun to make with our themed cookie cutters.
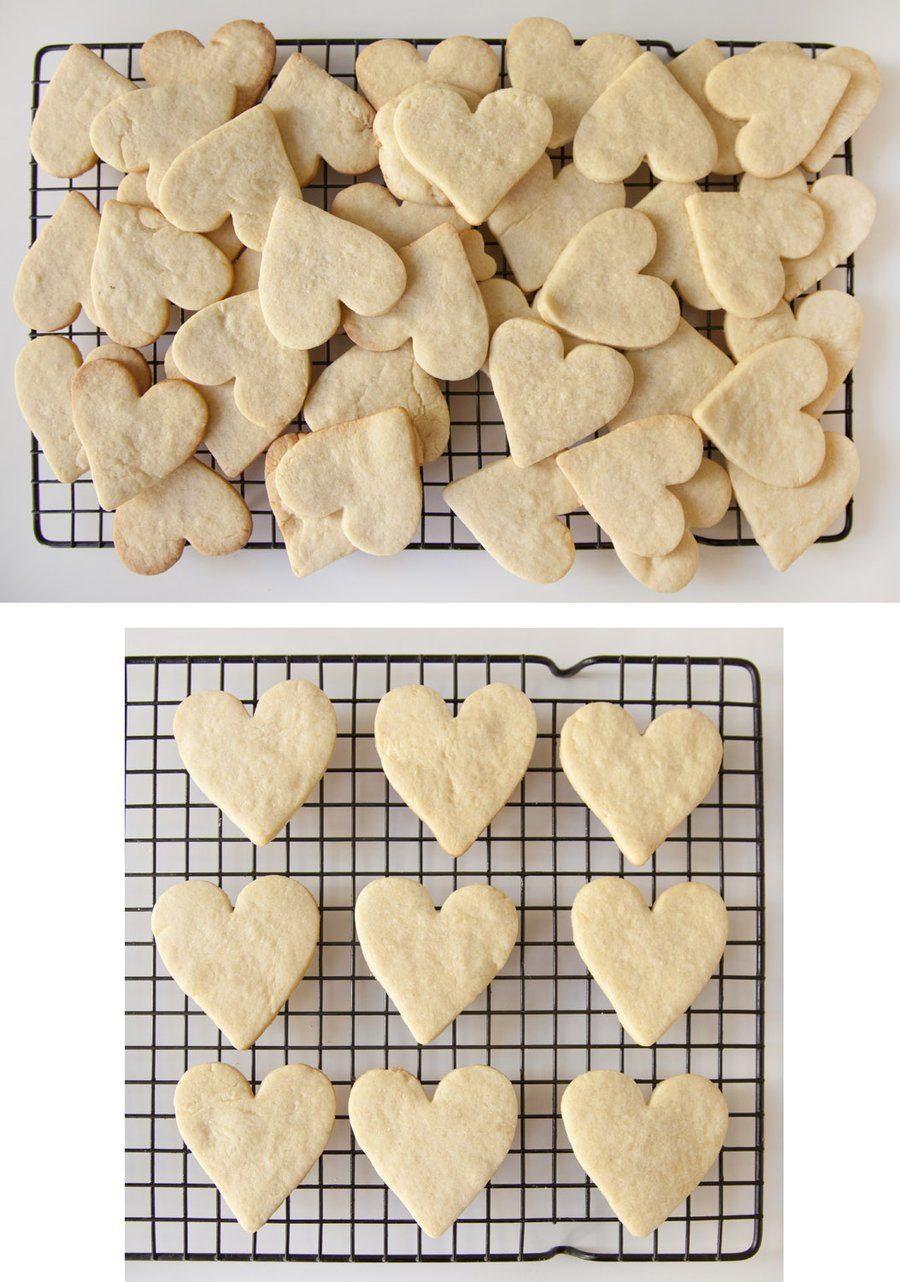
I decided that with Valentine’s Day only a few weeks away, this recipe needed to be blogged since they’re not only delicious, but the kids will have a blast making and decorating them. You can of course make hearts and Valentine’s related things, or cut out the letters of your crush/partner/best friend with cookie cutters too!
I will reiterate what I wrote in the recipe and that is that this is a multi-day recipe. You need to chill the dough for at least 2 hours (but up to 2 days) before you cut them and bake them. Chilling the dough ensures that your cookies will retain their shape while you cook them. After the cookies are baked, they then need to cool completely (otherwise your icing will literally slide right off them). And lastly, once iced, if you want the icing to be completely hard, you must let them set a full 24 hours. If you don’t care about the icing being soft, you can consume them immediately!
These cookies are great in the sense that you probably have all of the ingredients already in your home…and they can be made for any occasion given the right cookie cutters! Easter, Christmas, Birthday, Hanukkah, Valentine’s Day, Halloween…. By getting creative with food coloring, sprinkles and shapes, your cookies can look as professional as you want (and your kids will love getting in on the process).
Enjoy!


The Perfect Sugar Cookie
2 Hours
10 Minutes
2 Hour 10 Minutes
Makes 36 cookies
Ingredients
- 3/4 Cup Butter (at room temperature)
- 3/4 Cup Granulated Sugar
- 1 Egg
- 2 tsps Vanilla Extract
- 1/2 Teaspoon Almond Extract
- 2 1/4 Cups All Purpose Flour
- 1/2 Teaspoon Baking Powder
- 1/2 Teaspoon Salt
Directions
- Before we get started: Make sure you've allotted enough time to make these cookies!! The dough needs to chill at least 2 hours before baking! In addition, the cookies need to cool completely before you can ice them! And lastly, for the icing to harden COMPLETELY, you need to let it dry for 24 hours....but I assure you it is all worth it!
- In a large bowl using a handheld or stand mixer fitted with the paddle attachment, beat the butter until creamed and smooth – about 1 minute. Add the sugar and beat on high speed until light and fluffy, about 3 or 4 minutes. Scrape down the sides and bottom of the bowl. Add the egg, vanilla, and almond extract and beat on high until fully combine, about 2 minutes.
- In a separate bowl, whisk together the flour, baking powder, and salt. With the mixer on medium low, add in your flour mixture slowly and mix until fully combined. Turn off your mixer. You want your dough to be the consistency good for rolling - if too wet add in a little flour.
- Divide your dough into 2 equal parts. Roll out each piece of dough to 1/4" thick on a piece of parchment paper. Place each piece of dough (with the paper) on a baking sheet on top of each other - cover with plastic wrap and cool in the fridge for at least 2 hours and up to 2 days.
- Once the dough has chilled, preheat your oven to 350 degrees. Line a large baking sheet with parchment paper or a silicone mat. Cut out your cookies from the dough, rolling the remaining dough 1/4" thick again, and cutting cookies until all the dough is used up. Transfer the cookies to the baking sheet (leaving 1-2 inches in between the cookies).
- Bake the cookies for 10-12 minutes (rotating the pan midway through the cooking). You want the cookies to have a very faint color around the edges. Remove them from the oven.
- Allow the cookies to cool on the baking sheet for 5 minutes before removing them to put on a cooling rack. Allow the cookies to cool completely before icing.
- FOR THE ICING: In a bowl, combine 1.5 cups of Confectioners Sugar, 1/2 teaspoon of vanilla and 2 Tablespoons of water. Mix together until combined. If you drizzle a little of the icing with a whisk, the ribbon of icing will hold for a few seconds before melting back into the icing. That is when you know it’s the right consistency. If it's too thick, add a little water at a time, and conversely, if it's too thin, add in more confectioners sugar. You can also use food coloring at this point to make fun colors!
- For icing, I like to just dip my cookies in the bowl of icing, but you can use a pastry bag or squeeze bottles. Wait 24 hours for the icing to fully harden (but of course they can be eaten as soon as you want!)
- These cookies will last about 5 days at room temperature and 10 day in the fridge! Enjoy!