
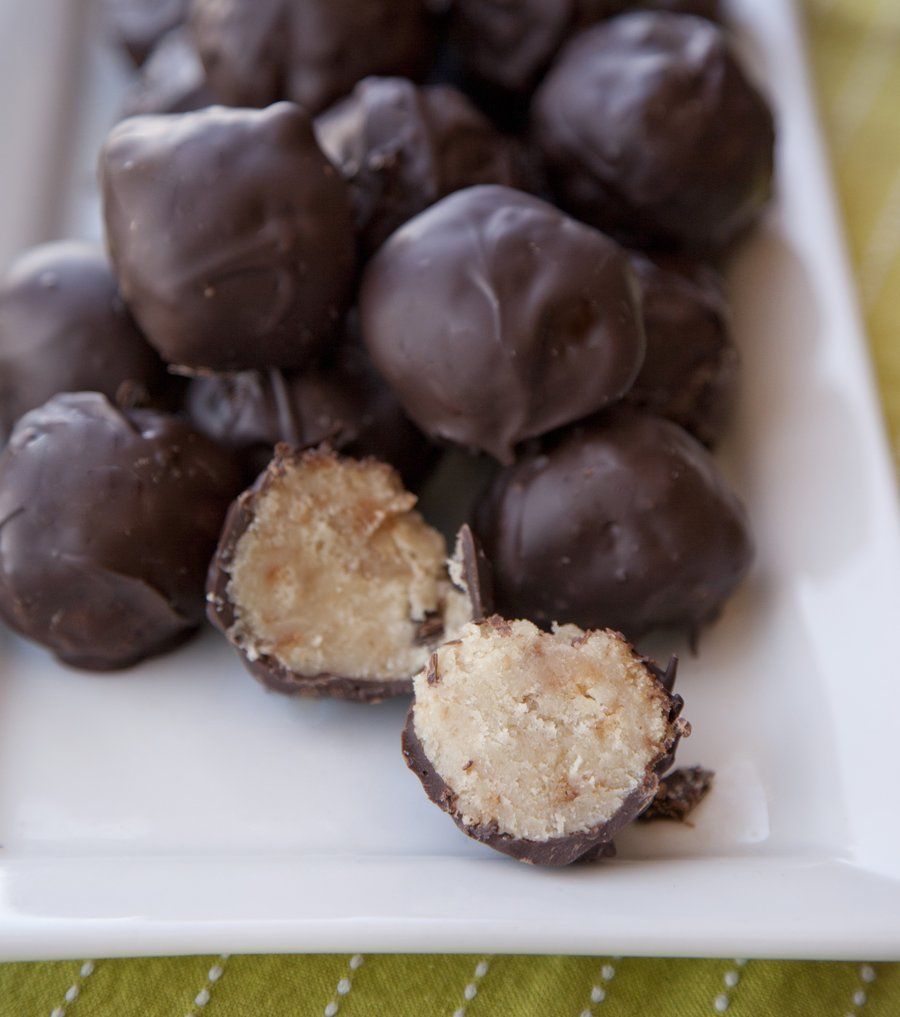
This year for Valentine’s Day, my hubby got me 2-dozen Chocolate Covered Strawberries. So to show my thanks, in the only way I know how, I decided to reciprocate with some more chocolate covered goodness: Chocolate Covered Vanilla Cake Pops.
The gift of food is truly the best gift there is, and these cake pops are no exception.
I decided to leave out the stick which is usually inserted into the pops for serving….but since we’re both adults here, and can just pop these bad boys into our mouths, I found the popsicle stick a little superfluous.
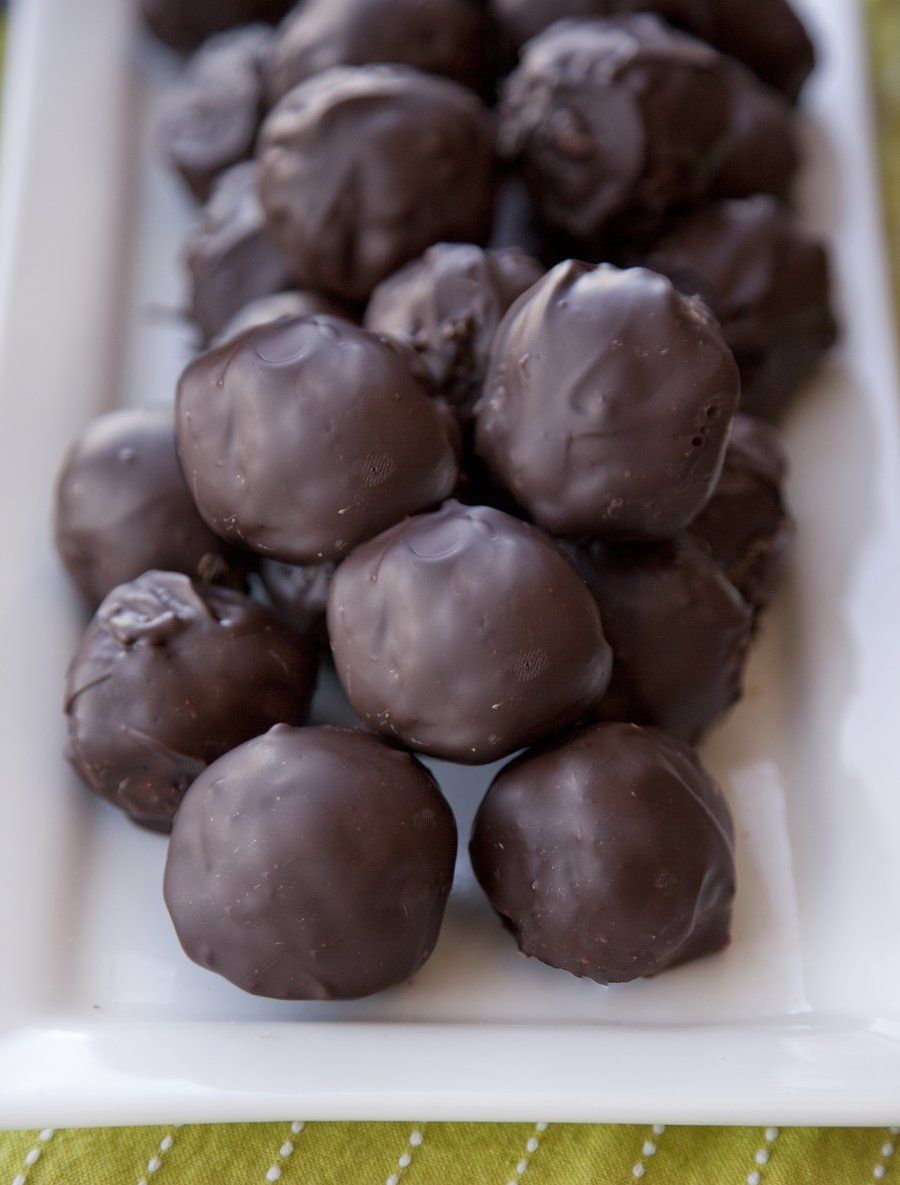
I also really wanted to decorate these confections with colored sprinkles, but hubby strong vetoed my creative efforts in favor of the simple chocolate only look…so forgive the lack of creativity in the photos to follow, but I wanted to make him happy.
For these cake pops, I wanted to try and replicate the look of one of our favorite store bought desserts, the Chocolate Covered Entenmann’s Donuts, which literally last about 30 seconds in our house because they’re absolute perfection in my eyes. I used Vanilla Cake Mix and Covered the Pops with semi-sweet chocolate – but I have many variations that I would like to do with cake pops in the future…. Lemon Cake with White Chocolate, Chocolate on Chocolate, and of course, Red Velvet Cake with White Chocolate! And in addition, I wish to decorate my next batch with sprinkles or maybe a two-toned chocolate drizzle…the wilder, the better….can’t wait to make these for my daughter’s future birthday parties (obviously making the white chocolate pink!)
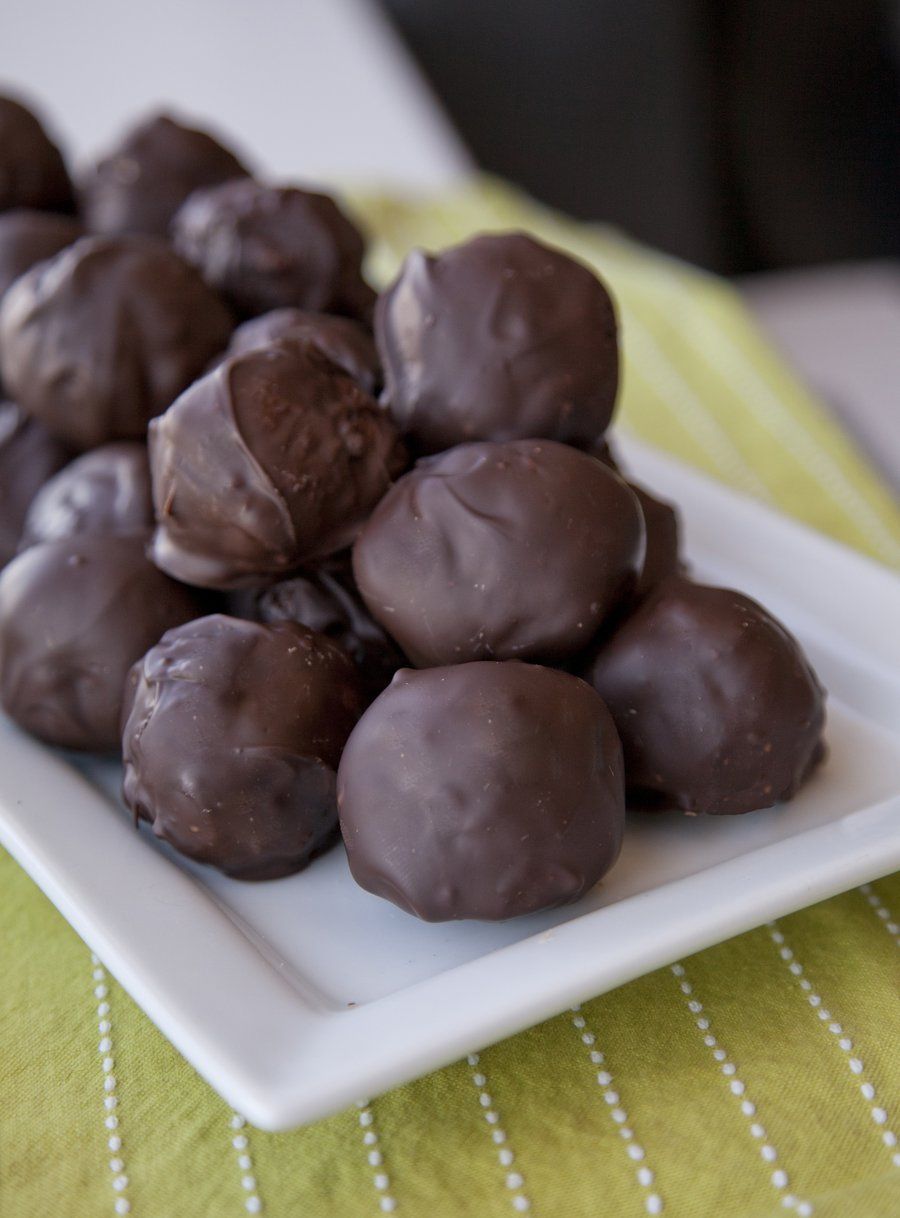
Despite being kind of labor intensive/tedious job, these cake pops are super easy to make, and will yield about 30 pops (depending on the size you make them) – great for parties, or to bring over to someone’s house for a gathering. You can even make them into other shapes – hearts for Valentine’s Day, Footballs for Superbowl, Shamrocks for St. Patty’s….you get the gist.
If you do wish to insert a Popsicle stick into your cake pop, you would do it right after forming the cake balls and before you stick the cake balls into the freezer.
Typically, cake pops are made by combining your cake mix (cooked and then crumbled) with store bought icing to help them stick together – but to me this sounds like sweetness overload. So instead, as a binder, I used milk which not only doesn’t add extra sweetness to the already sweet cake mix, but works magically as a binder!


Chocolate Covered Cake Pops
2 Hours
27 Minutes
2 Hour 27 Minutes
Makes about 30 cake pops
Ingredients
- 1 Box French Vanilla Cake Mix
- 1/2 Cup Whole Milk
- 2 1/2 Cups Semisweet Chocolate Chips
Directions
- Bake 1 box of French Vanilla Cake Mix according to the box's directions. Allow the cake to cool completely.
- With your hands, crumble the cake into a large bowl. You want the smallest crumbles possible. Add in your milk and mix together.
- Line a baking sheet with wax paper, and using an ice cream scoop, start scooping out equal sized portions of cake mix and form them into balls with your hands. Place the dough balls on the baking sheet. Once all the cake mix is used up. Pop the cake balls into the freezer for 30 minutes.
- Meanwhile, in a large bowl, add your chocolate chips. In a microwave, nuke for 30 seconds, stir, then nuke another 30 seconds and stir again. At this point, the chocolate should be completely melted (if not, repeat this process until all the chocolate is melted). Line another baking sheet with wax paper. Remove the cake balls from the freezer, and in batches, coat in the melted chocolate and place on the wax paper to harden (*use a fork to move the cake around in the chocolate and to remove them).
- Once all of your cake balls are coated in chocolate and sitting on the wax paper lined baking sheet, pop them in the freezer again for about 20-30 minutes to harden, remove and serve. These cake pops will last about 1 week!